Next.js 14에서 StyleX 사용 후기

글을 시작하며
CSS 라이브러리 정하기
CSS-in-JS
CSS-in-JS는 Runtime Stylesheet 방식과 Static CSS 추출(zero-runtime) 방식이 있습니다.
Runtime StyleSheet방식과 다르게,Static CSS 추출은빌드 타임에 스타일을 완성해 브라우저로 전송하기 때문에 런타임 오버헤드가 존재하지 않습니다.- 따라서,
SSR환경에서zero-runtime방식이 효율이 높습니다.
StyleX를 채택한 이유
정리한 내용을 바탕으로 CSS-in-JS 라이브러리를 채택하려고 했습니다.
때마침 Meta에서 새롭게 만든 스타일링 시스템인 StyleX를 알게 되었습니다.
StyleX는 inline 스타일과 Static CSS의 장점을 결합하고 단점은 보완한 라이브러리입니다.
주요 기능은 다음과 같습니다.
Atomic CSS로CSSoutput을 최소화합니다.- 조건부로 스타일을 적용할 수 있습니다.
- 런타임 스타일 삽입이 없고, 모든 스타일은 컴파일 타임에 정적 CSS 파일에 번들링 되어 빠릅니다.
- 타입 안정성이 보장됩니다.
이제, Nextj.js 14에서 StyleX를 어떻게 사용했는지 이야기해 보려고 합니다.
Next.js 14에서 StyleX 사용하기
작성 기준
StyleX버전은 0.5.1 입니다.
StyleX 설치 및 설정
StyleX 설치와 설정은 공식 문서를 참고했습니다.
설치
npm install --save-dev @stylexjs/nextjs-plugin
설정
.babelrc.js와 next.config.js를 다음과 같이 설정합니다.
단, babel 설정 시 컴파일러가 babel로 변경됩니다. 공식 문서
이에 따른 몇 가지 이슈들도 존재합니다. 이슈들
// .babelrc.js
const path = require("path");
module.exports = {
  presets: ["next/babel"],
  plugins: [
    [
      "@stylexjs/babel-plugin",
      {
        dev: process.env.NODE_ENV === "development",
        runtimeInjection: false,
        genConditionalClasses: true,
        treeshakeCompensation: true,
        aliases: {
          "@/*": [path.join(__dirname, "*")],
        },
        unstable_moduleResolution: {
          type: "commonJS",
          rootDir: __dirname,
        },
      },
    ],
  ],
};
// next.config.js
const path = require('path');
const stylexPlugin = require('@stylexjs/nextjs-plugin');

module.exports = stylexPlugin({
  aliases: {
    '@/*': [path.join(__dirname, '*')],
  },
  rootDir: __dirname,
})({});
StyleX 사용하기
1. 기본 스타일 정의
- 스타일은
stylex.create함수를 사용하여 생성합니다. stylex.props함수는HTML요소에 적절한classNameprop을 설정하고, 동적 스타일을 사용하는 경우 스타일 prop을 설정합니다.
"use client";

import stylex from "@stylexjs/stylex";

export default function ThemeButton() {

  return (
    <button
      onClick={toggleDarkMode}
      {...stylex.props(styles.button)}
    >
      // 생략..
    </button>
  );
}

const styles = stylex.create({
  button: {
    display: "flex",
    justifyContent: "center",
    alignItems: "center",
  },
});
2. 컴포넌트에 Props 스타일 전달
- 마지막으로 적용된 스타일이 항상 적용됩니다.
import stylex from "@stylexjs/stylex";

 <TitleInput title={title} style={styles.defaultInput}/>

const styles = stylex.create({
  defaultInput: {
    width: "100%",
    padding: "1rem",
    borderRadius: "1rem",
    borderWidth: "1px",
    borderStyle: "solid",
    borderColor: "var(--text200)",
    color: "var(--font)",
  },
});
"use client";

import stylex, { StyleXStyles } from "@stylexjs/stylex";

export default function TitleInput({
  title,
  style,
}: {
  title: string;
  style: StyleXStyles;
}) {

  return (
    <input
      name="title"
      placeholder="제목을 입력해주세요.."
      defaultValue={title}
      {...stylex.props(styles.title, style)}
    />
  );
}

const styles = stylex.create({
  title: {
    backgroundColor: "var(--backGround)",
    caretColor: "var(--font)",
    fontSize: "1.5rem",
  },
});
3. 조건부 & 동적 스타일
- 조건부와 동적으로도 스타일을 적용할 수 있습니다.
"use client";

import stylex from "@stylexjs/stylex";
import { useEffect, useState } from "react";

export default function SideBar() {
  const [hTags, setHTags] = useState<HTag[]>([]);
  const [activeAnchor, setActiveAnchor] = useState<number | null>(null);

  // 생략..

  return (
    <div {...stylex.props(styles.sidebar)}>
      // 조건부 스타일링
      <ul {...stylex.props(hTags.length ? styles.ul : styles.hidden)}>
        {hTags.map(({ headingId, headingText, indent }, id) => (
          // 동적 스타일링
          <li
            key={id}
            {...stylex.props(styles.li(`${indent}px`))}>
            <a
              href={`#${headingId}`}
              {...stylex.props(styles.a, id === activeAnchor && styles.active)}>
              {headingText}
            </a>
          </li>
        ))}
      </ul>
    </div>
  );
}


const MEDIA_SIDEBAR = "@media (max-width: 1350px)" as const;

const styles = stylex.create({
  sidebar: {
    display: {
      default: "flex",
      [MEDIA_SIDEBAR]: "none",
    },
    position: "fixed",
    top: 0,
    left: "calc(50vw + 350px + 4rem)",
    paddingTop: "190px",
    height: "100vh",
  },
  ul: {
    // 생략..
    "::-webkit-scrollbar": {
      display: "none",
    },
  },
  li: (marginLeft: string) => ({
    listStyleType: "none",
    marginLeft,
  }),
  hidden: {
    display: "none",
  },
  a: {
    // 생략 ..
  },
  active: {
    color: "var(--font)",
    transition: "transform 0.125s ease-in-out",
    transform: "scale(1.05)",
  },
});
4. 변수
- 변수들은
stylex.defineVars함수를 사용하여 정의됩니다. - 변수 사용시 몇 가지 규칙이 있습니다.
// globalTokens.stylex.ts
import stylex from "@stylexjs/stylex";

export const colors = stylex.defineVars({
  red: "#fa4d47",
  green: "#35dd65",
  point: "rgb(3, 152, 178)",
  white: "#ffffff",
  gray: "#757575",
});
import { colors } from "./globalTokens.stylex";

<button {...stylex.props(styles.button)}>버튼</button>

const styles = stylex.create({
  button: {
    color: colors.white,
  },
});
5. 의사 클래스와 미디어 쿼리
- 의사 클래스와 미디어 쿼리은 다음과 같이 사용할 수 있습니다.
- 미디어 쿼리로 반응형을 구현할 수 있습니다.
<section {...stylex.props(styles.posts)}>
  {posts ? (
    posts.map((post) => (
      <article
         key={post._id.toString()}
         {...stylex.props(styles.post)}>
         // 생략..
      </article>))) : null}
</section>

const MEDIA_TABLET =
  "@media (min-width: 701px) and (max-width: 1100px)" as const;
const MEDIA_MOBILE = "@media (max-width: 700px)" as const;

const styles = stylex.create({
  posts: {
    display: "grid",
    gridTemplateColumns: {
      default: "repeat(3, 1fr)",
      [MEDIA_TABLET]: "repeat(2, 1fr)",
      [MEDIA_MOBILE]: "1fr",
    },
    // 생략..
  },
  post: {
    transition: "transform 0.3s ease-in-out",
    transform: {
      default: null,
      ":hover": "scale(1.025)",
    },
    // 생략..
  },
})
6. 키프레임 애니메이션
import * as stylex from '@stylexjs/stylex';

const fadeIn = stylex.keyframes({
  from: {opacity: 0},
  to: {opacity: 1},
});

const styles = stylex.create({
  base: {
    animationName: fadeIn,
    animationDuration: '1s',
  },
});
지금까지 Next.js 14에서 StyleX 사용법을 살펴보았습니다.
StyleX가 제공하는 Next.js에서의 예시와 공식 문서도 참고하면 좋을 것 같습니다.
이슈들
1. babel로 컴파일러가 변경되면서 생기는 이슈들
1. next/font 사용 불가능
Next.js에서 제공하는 폰트를 사용할 수 없습니다. 공식 문서
2. .next build 캐시 오류
next dev또는next build명령어 실행 시.next폴더가 만들어지고, build 캐시가 저장됩니다.
StyleX를 사용한CSS들이 제대로 build가 되지 않는 문제가 발생했습니다.
package.json을 변경해 캐시된.next를 지우도록 자동화했습니다.
"scripts": {
   "dev": "rm -rf .next && next dev",
   "preview": "rm -rf .next && next build && next start",
   "build": "rm -rf .next && next build",
   "start": "next start",
   "lint": "next lint"
 },
3. Client Component에서 Server Action import 불가능
SWC컴파일러 사용 시Client Component에서Server Action을 import해서 사용할 수 있습니다. 예시
'use client'

import { publishPost, saveDraft } from './actions'

export default function EditPost() {
  return (
    <form action={publishPost}>
      <textarea
        name="content"
        onChange={async (e) => {
          await saveDraft(e.target.value)
        }}
      />
      <button type="submit">Publish</button>
    </form>
  )
}
Babel컴파일러 사용 시 위 코드는 다음과 같은 오류를 발생합니다.
관련 깃허브 이슈
Server actions must be async functions
Props로 넘겨주는 방식으로 변경합니다. 예시
// app/client-component.jsx
'use client'

export default function ClientComponent({ updateItem }) {
  return <form action={updateItem}>{/* ... */}</form>
}
2. 기타 이슈들
1. global.css가 빈 파일이면 css가 적용되지 않는 현상
0.5.0 버전이 release 되면서 현재는 수정 된 상태이다.
관련 깃허브 이슈
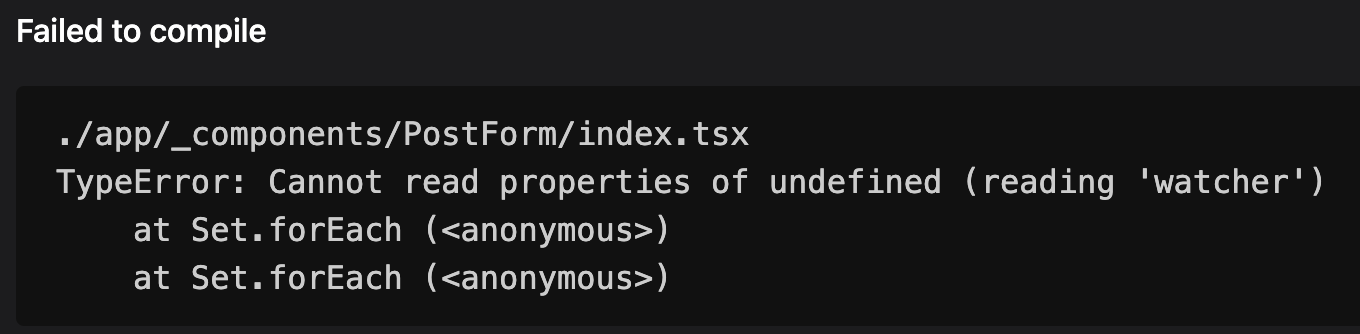
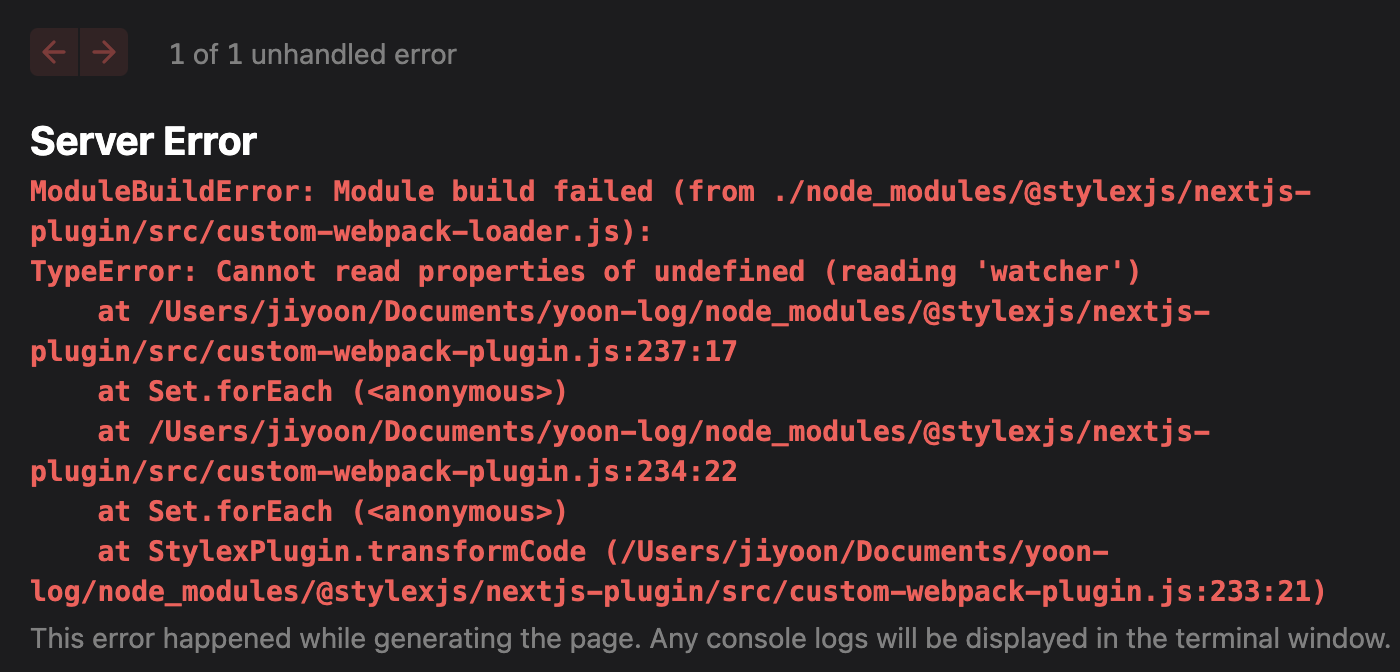
2. 간헐적인 Failed to compile, Server Error 현상
아직 뚜렷한 해결책은 찾지 못했습니다.
파일을 다시 저장하거나 새로고침으로 해결했습니다.
글을 마치며
느낀점
- 재사용 용이
- 조건부, 동적 스타일 용이
- 신규 라이브러리로 불안정 요소 존재
- Next.js와 사용 시 Babel 컴파일러로 몇 가지 이슈들이 존재
배운것
- 모던 CSS 적용 방법들
- Next.js 14에서 StyleX 사용하기
마무리
지금까지 Next.js 14에서 StyleX를 사용한 내용입니다.
읽어주셔서 감사합니다.